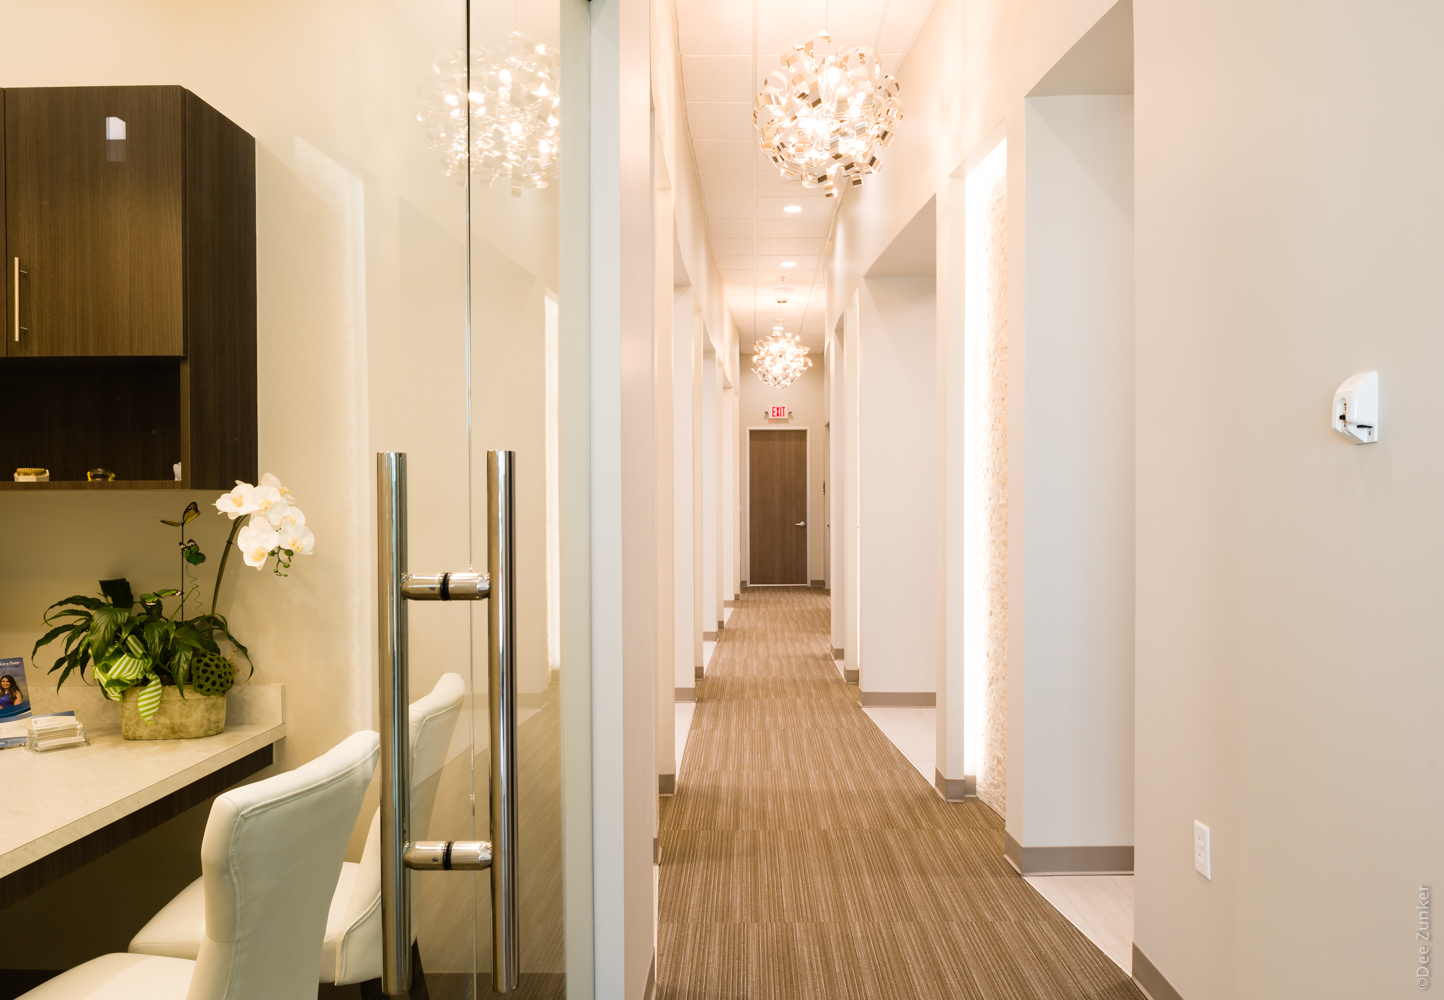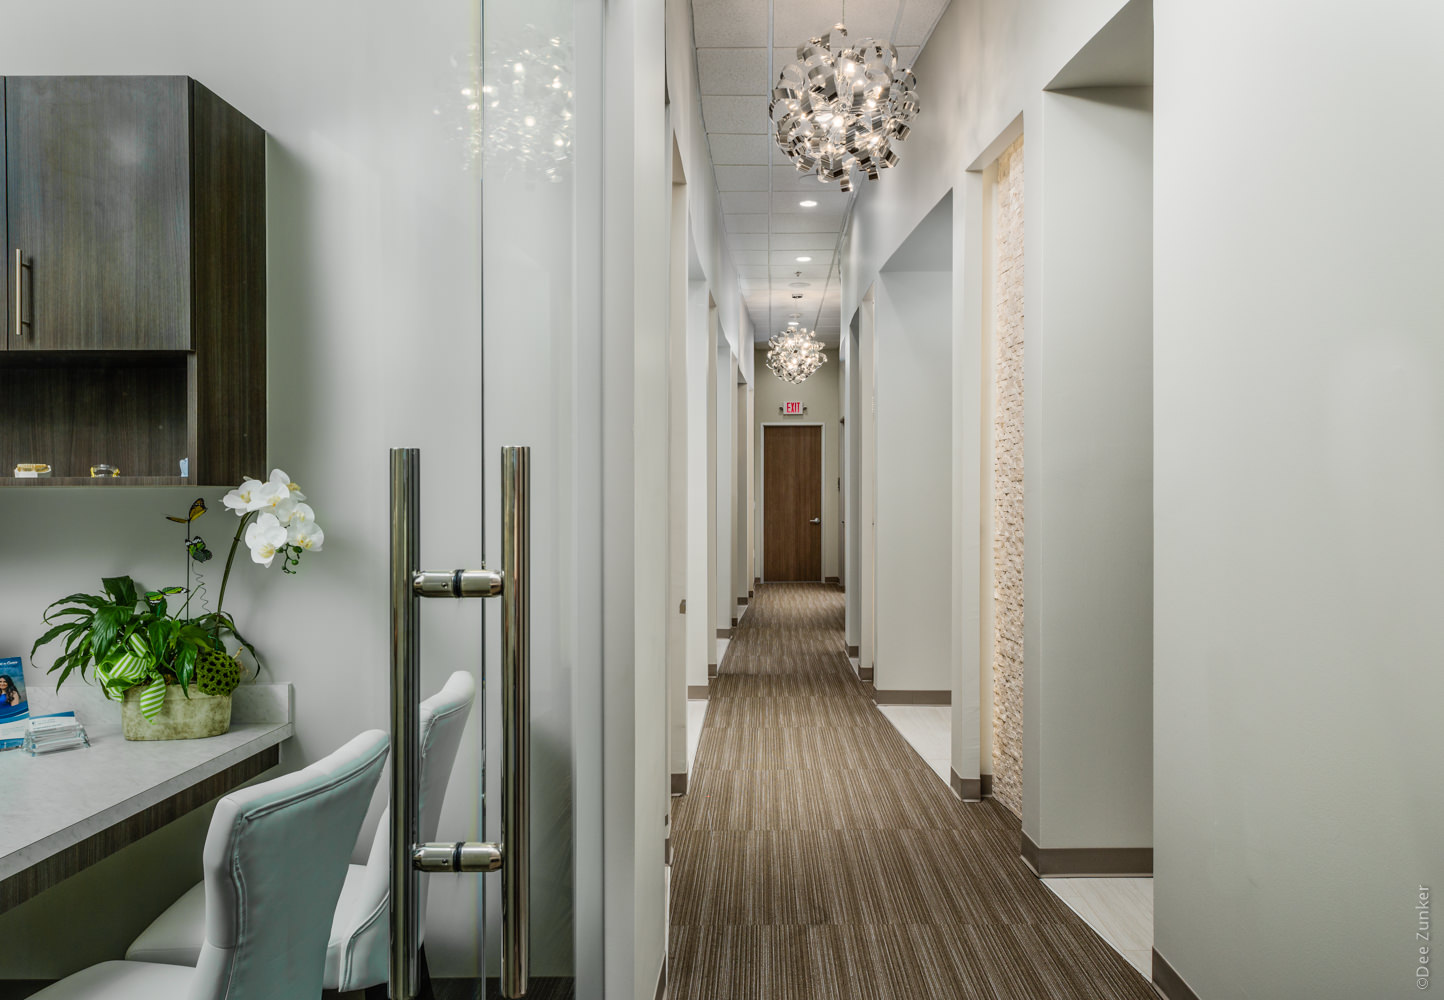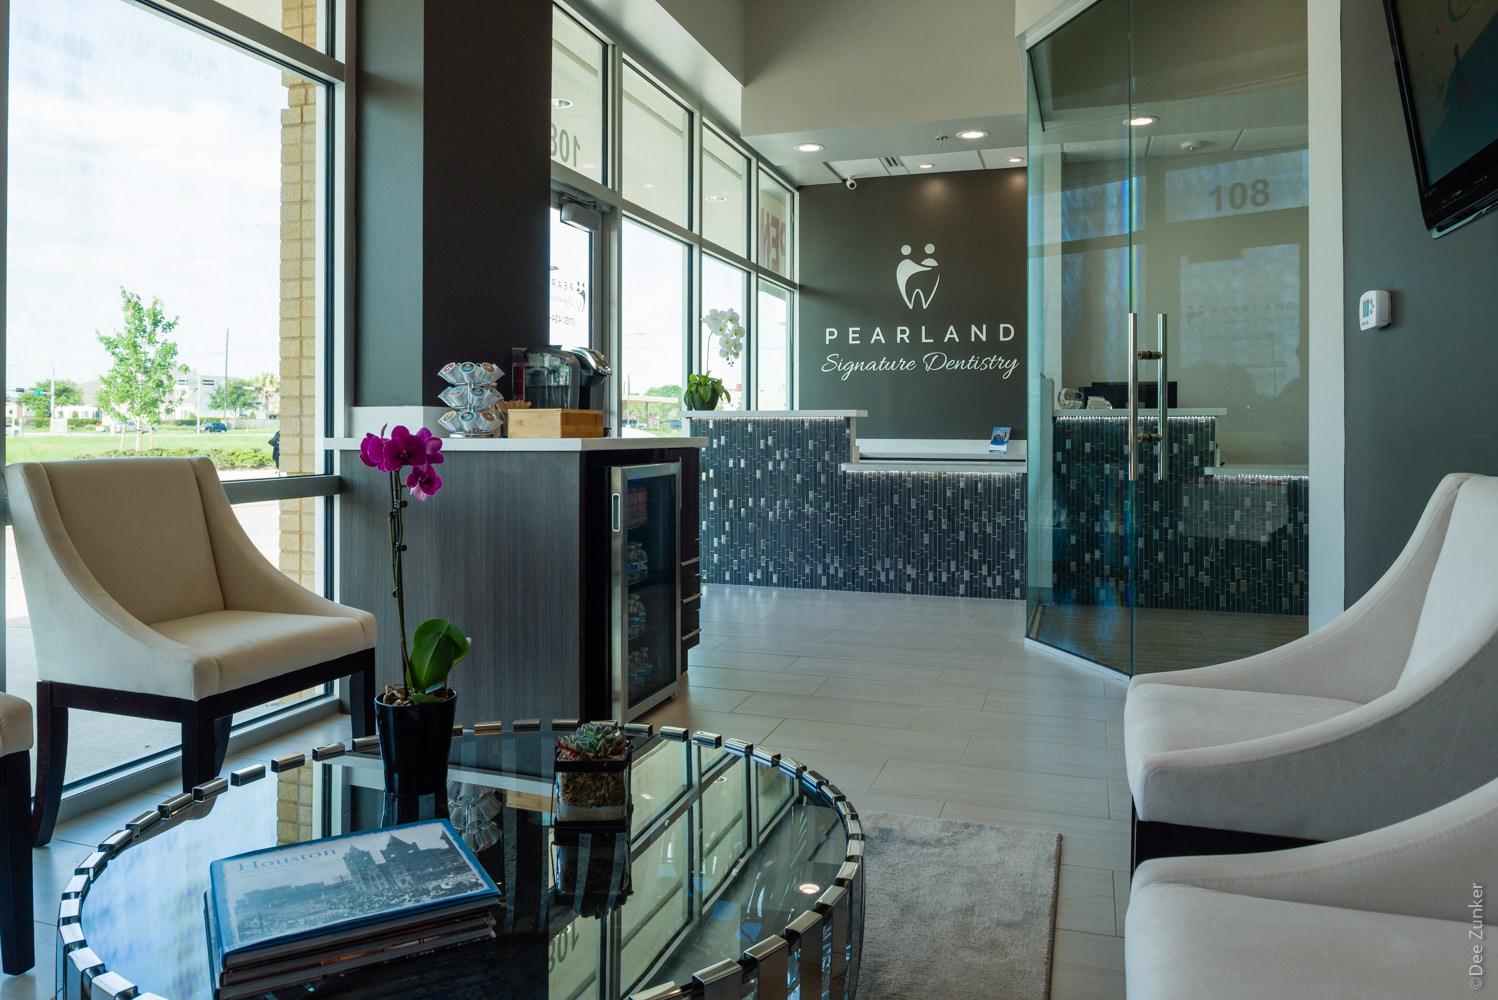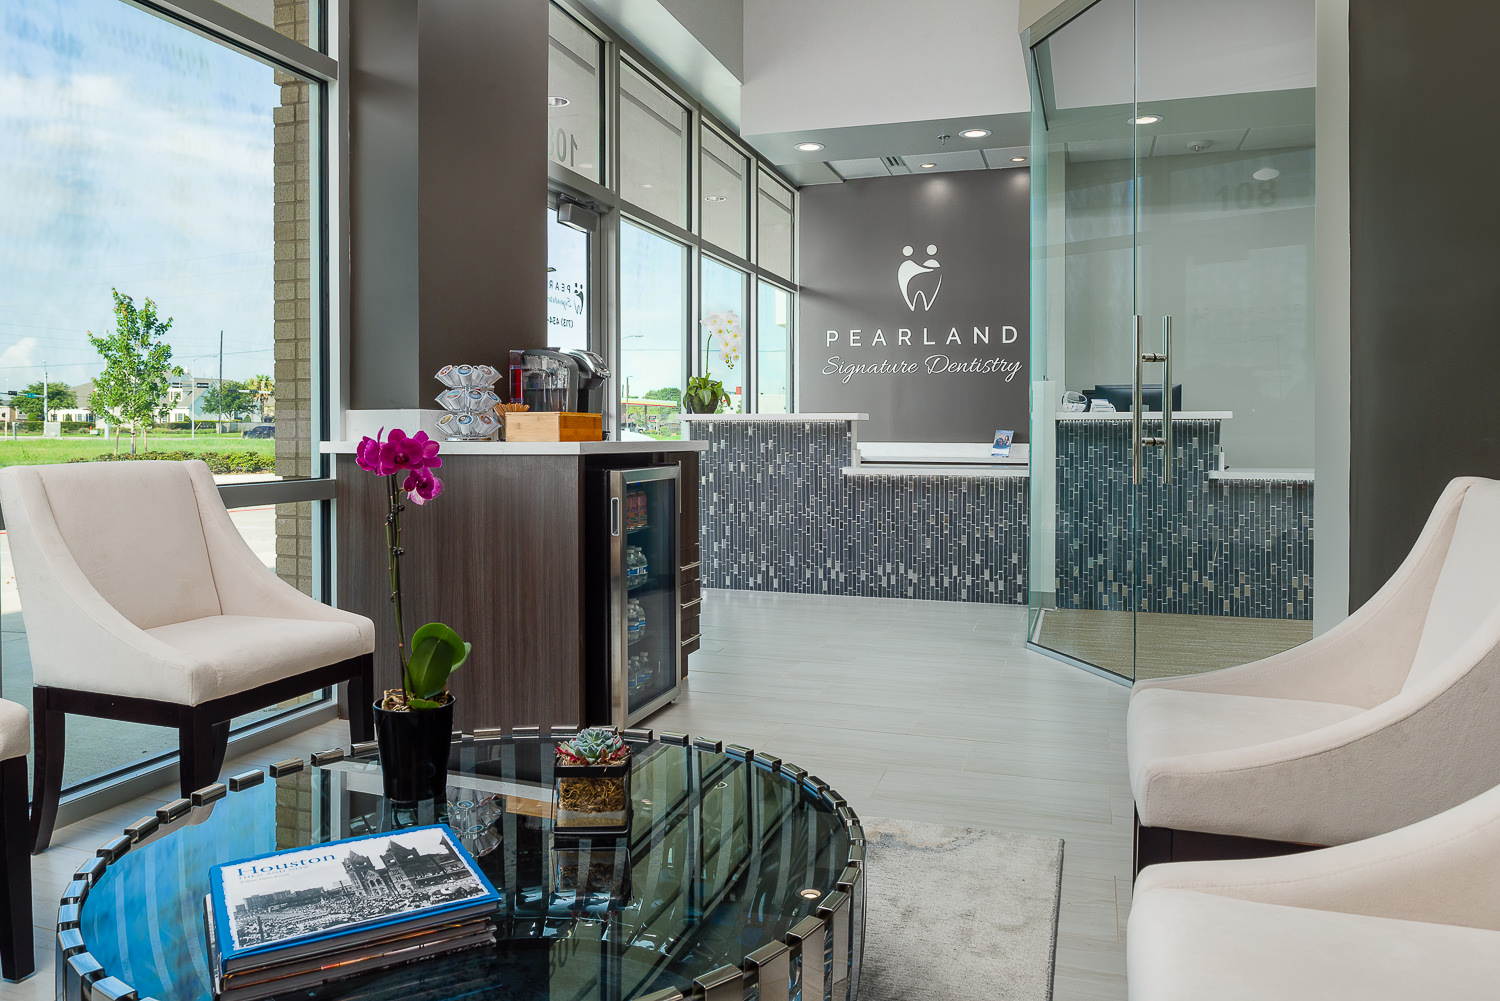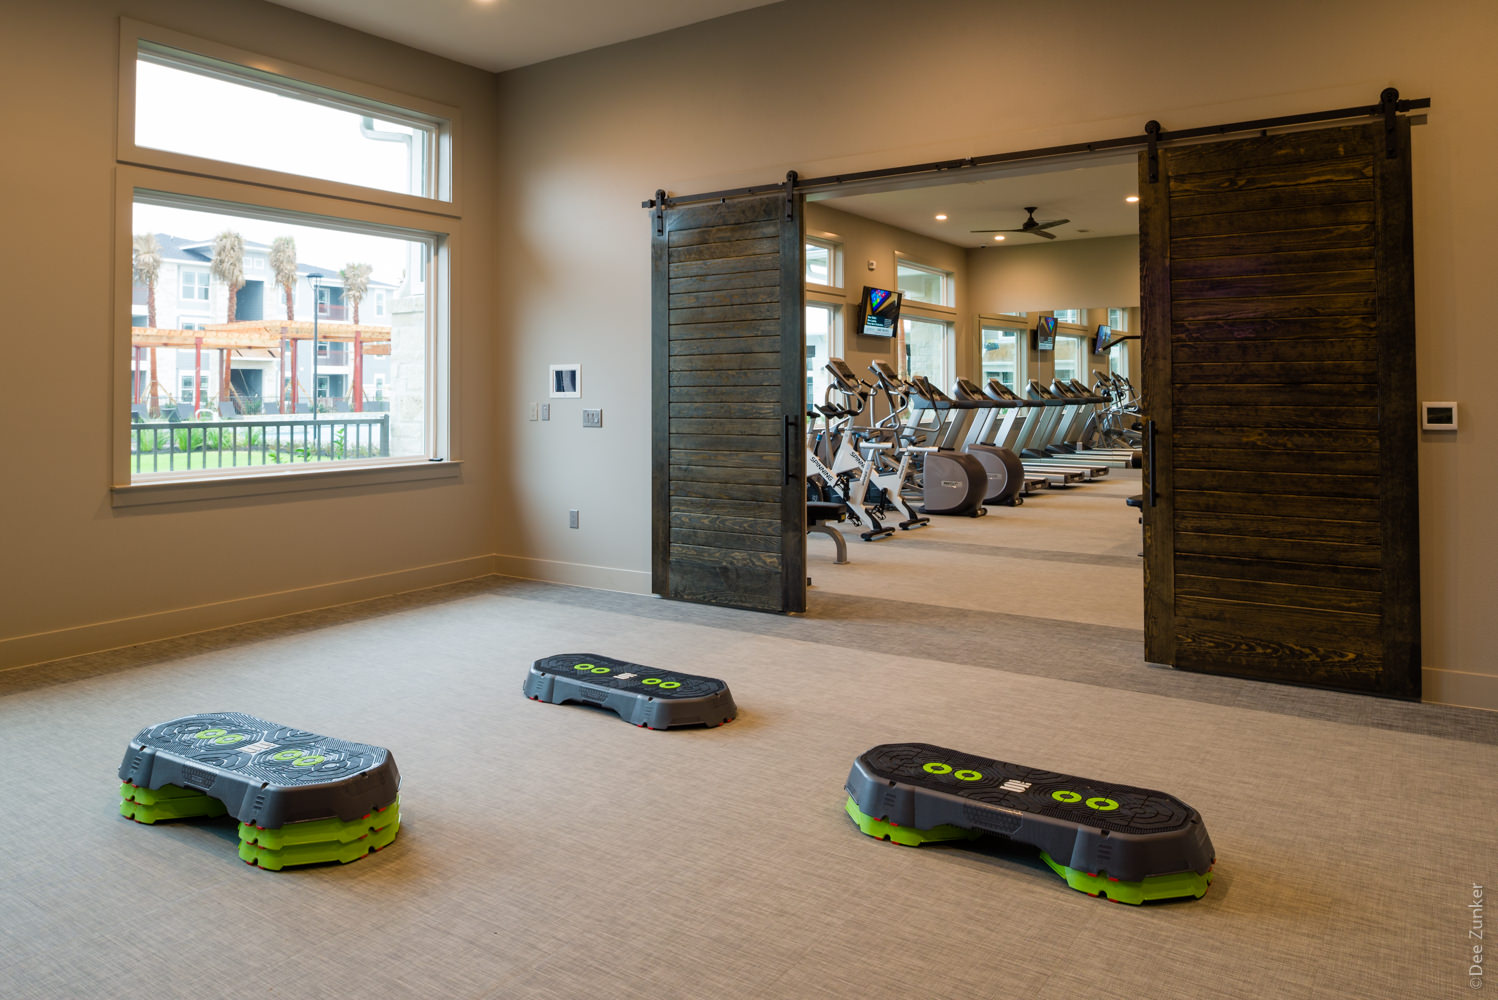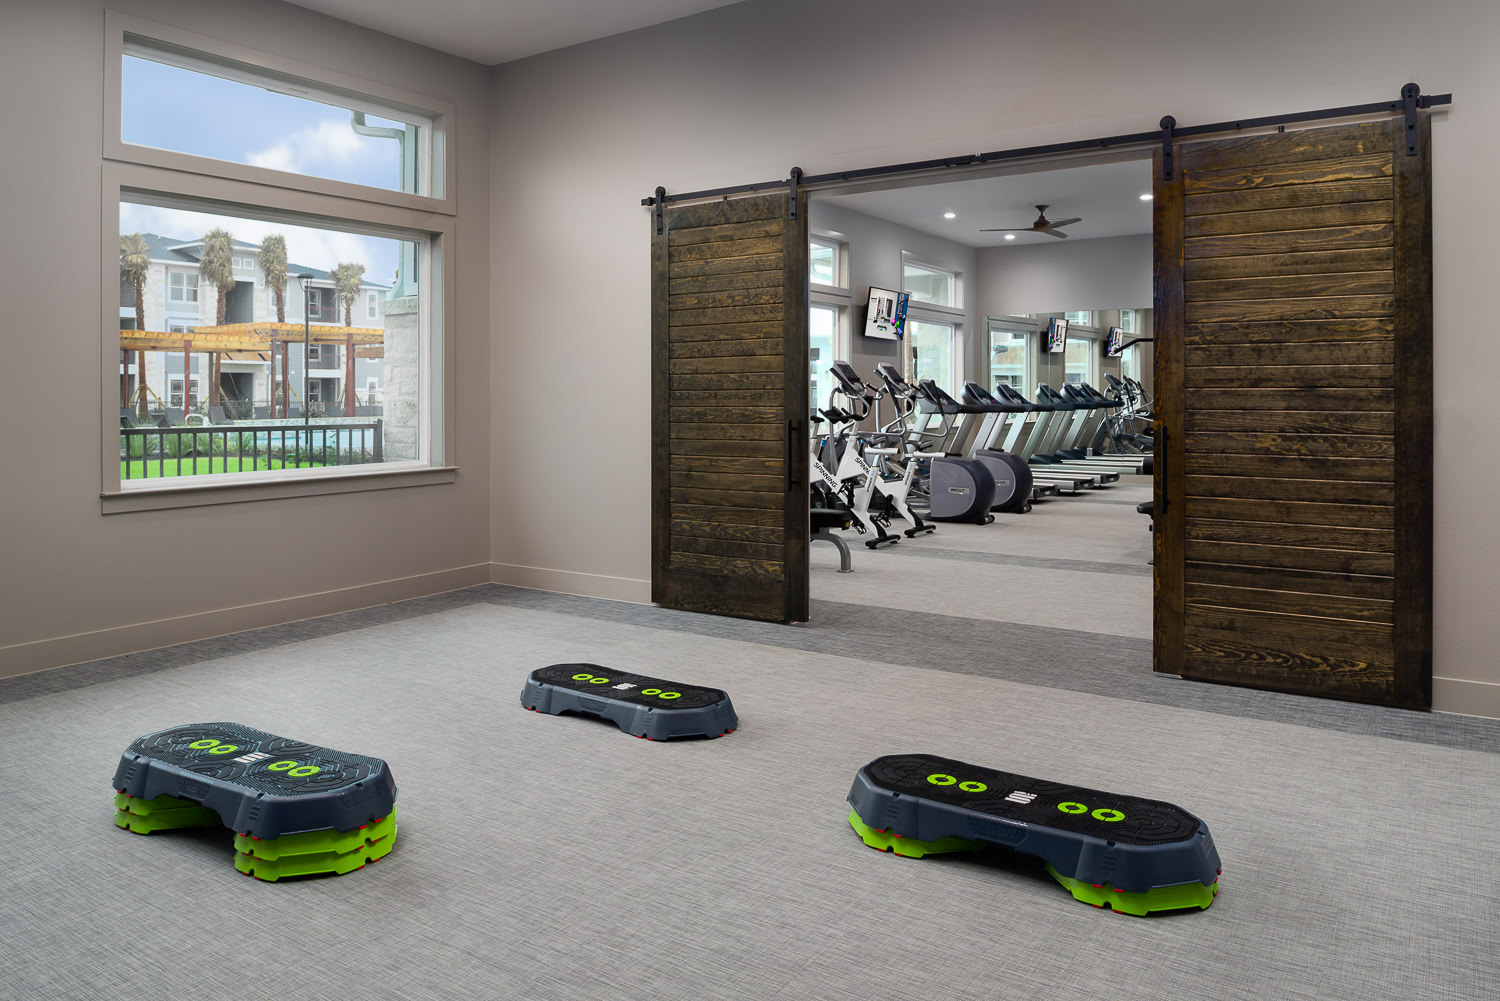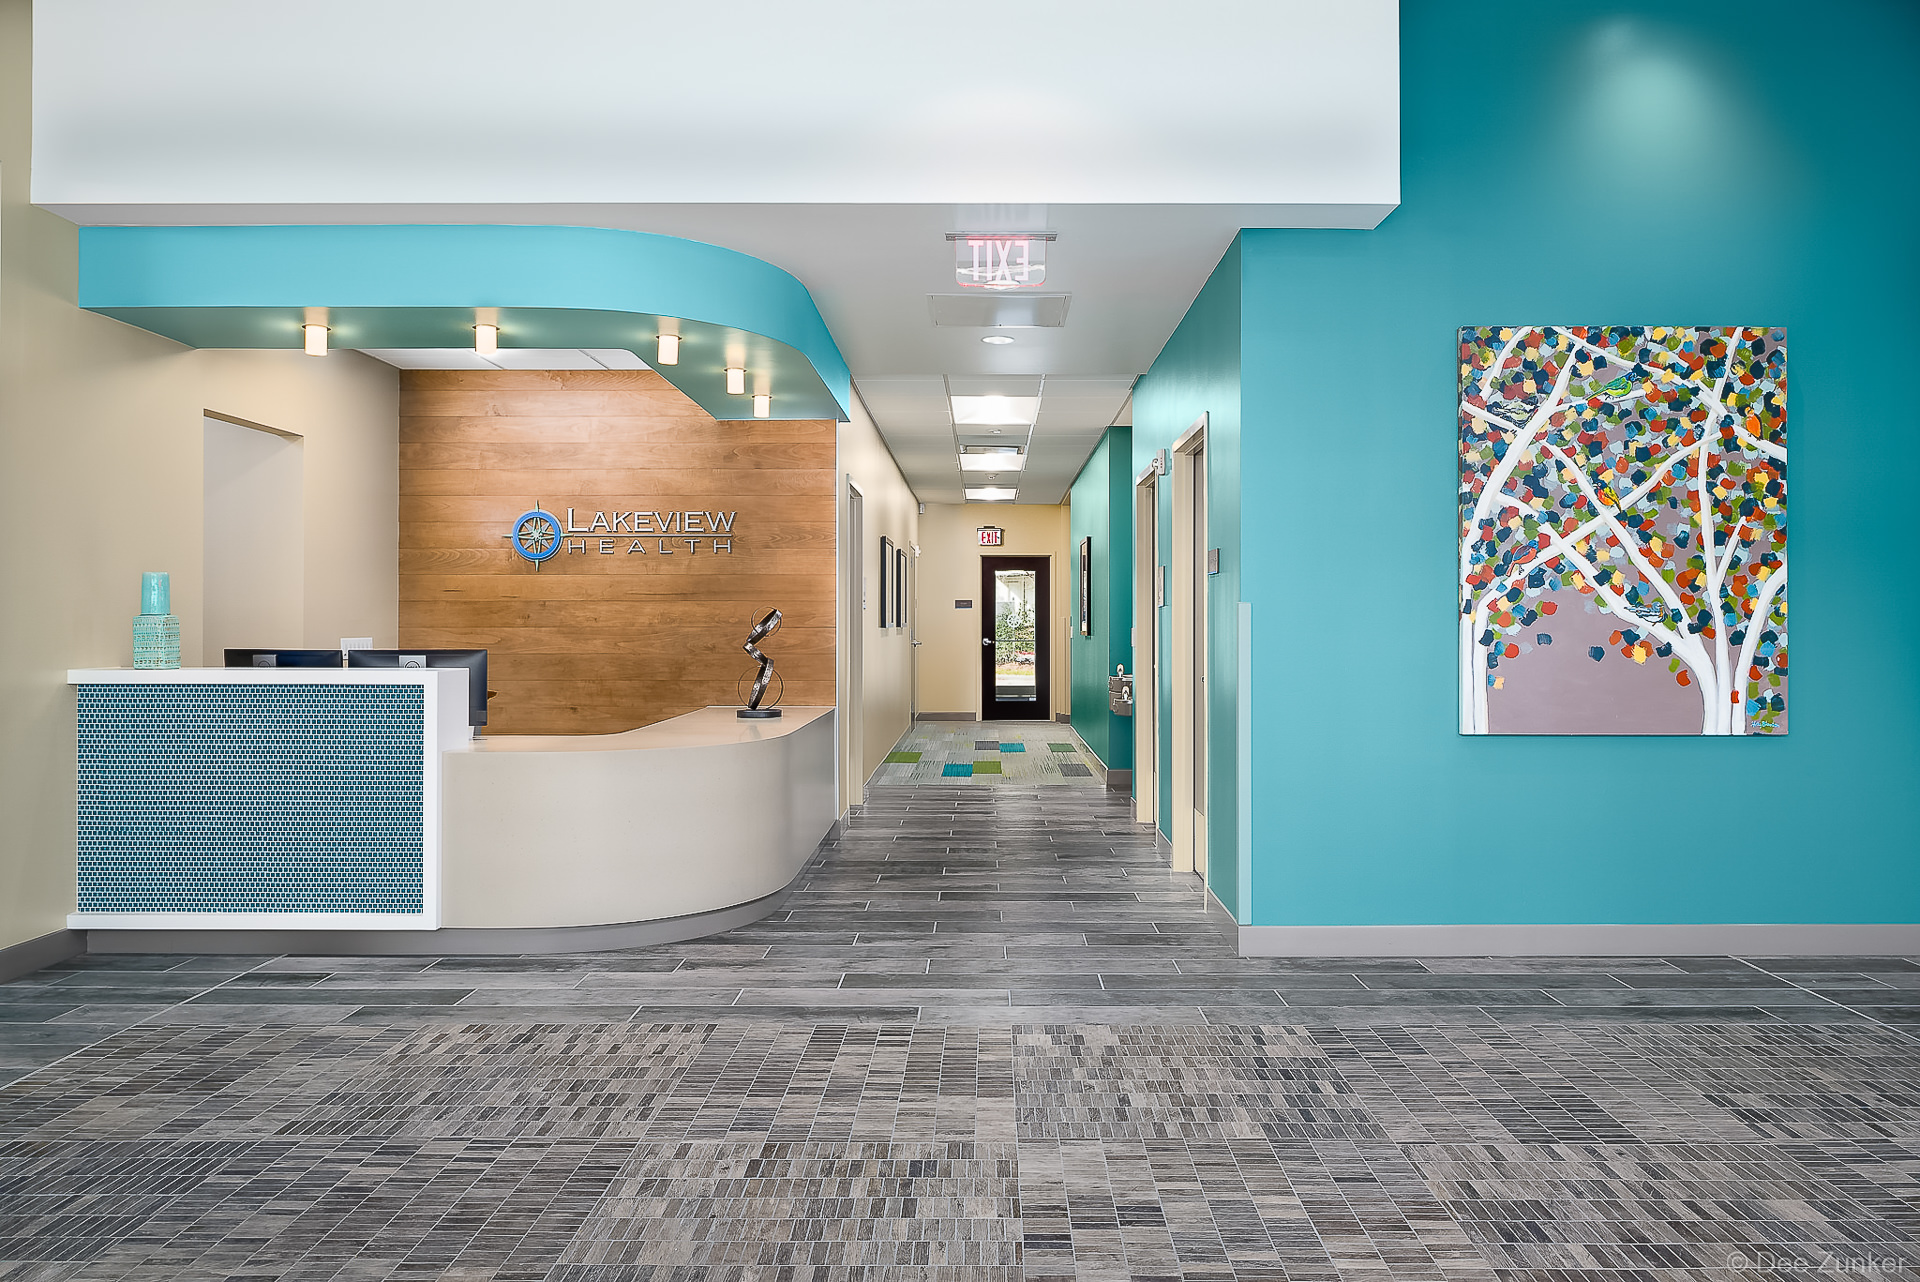
Interiors photography has to show how a space feels while keeping its design, materials, and lighting accurate. I put together a quick video showing my process for this particular image. I captured several frames with different exposures and various flash pops to compensate for the glare on the shiny walls, color casts from the strong reflected colors, and various lighting colors. I then combined the useful parts in Photoshop to create the final cohesive image that represents the actual design. I used ~20 frames in this particular image. That is definitely more than most, but not unusual for a larger complex space.
Planning the View
These images take longer to setup and light than one might expect. When I first enter a space, I decide my camera angle which shows the layout and the features but also has visual balance and pleasing angles. Small changes in position can affect how a room’s proportions read, but also how teh final image feels. There is a certain comfort you feel when the right angle is selected. Once the composition is set, I make final adjustments to furniture and visible details from the camera’s point of view.
Ambient and Flash – Balancing Light and Color
Interiors often contain bright windows, darker corners, and several kinds of light in the same frame. I will take a series of different exposures, and look at the issues in the shot to decide how to add flash or block lighting or glare coming into the scene. Each shot needs its own individual approach.
Building the Final Photograph
The camera records light differently from the way we experience a room. Standing in a space, our eyes adjust as we look from a bright window to a darker interior. A single exposure cannot always represent both as we perceive them.
In editing, I combine the useful parts of the exposures and refine the color and contrast. The goal is a cohesive photograph that feels natural and remains faithful to the design.
Preparing for the Shoot
Composition, lighting, and adjustments within the space all take time. An agreed shot list helps us prioritize the rooms, design features, and details that matter most.
Besides a list of angles, rooms, or features to be captured, understanding the objectives for the images and their final use is important. For example,
- Business owners want to showcase the space as a customer experiences it to set a client at ease or entice a client to visit.
- Commercial realtors are more interested in showing the features of the space, and how it connects to the rest of the property.
- Builders are interested in showing finishes and technical details that can tell a story about how they approach and complete a project.
- Architects are interested in showing how the final project mirrors the initial design intent, and how the space is experienced.
- Interior designers are more focused on colors, textures, and details for the final touches of the completed space. They are looking for more intimate vignettes of the space to represent the overall feel for a client.
The shot list is a starting point, and I use the my trained eye to make the final assessment for each image. I ensure the image is visually balanced and appealing. Photography is art after all.
Learn more about my Houston interiors photography.
Below are some additional before and after images to demonstrate the transformation of the images.